There is just about nothing better than fresh sourdough bread right from the oven.
I’ve been experimenting with and making sourdough bread for about 30 years. I have started my own cultures, and used cultures given to me by others. For about the last 12 years, I have maintained the same two cultures (Camaldoli and Ischia) obtained from Sourdoughs International, Cascade, ID: http://www.sourdo.com/index.htm
I keep the cultures in glass snap top canning jars. I use them often enough that they do not need to be refrigerated. I use sourdough for bread, pizza dough, pretzels, pancakes and waffles, doughnuts, just about any place where you’d use a yeast rising dough.
Sometimes I go a few weeks without feeding them. The lactic acid builds up. To get it going again, I just take a spoon out of the jar and place it in a new jar with a cup of flour and a cup of cool unchlorinated water (use and activated charcoal filter on your kitchen tap so you always have good cooking water). Feed the jar by dumping out the contents, and adding a cup of flour and a cup of water to the small bit that clings to the inside of the jar. Feed every 8 hours until the culture is nice and foamy. This means the yeasts in the culture have balanced out the souring bacteria. Once you have the culture to this state, it is ready for bread (the less vigorous culture stages are still ok for pancakes and quick breads since you are mainly using the sourdough for flavor).
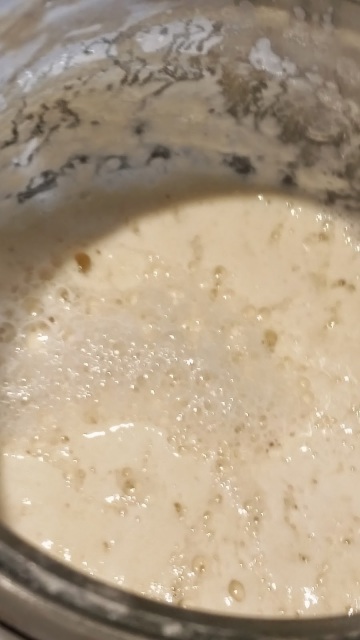 |
| Active culture in the jar |
Here’s my normal process for sourdough bread:
Approximately 1 cup active sourdough starter. Approximately 4-1/2 to 5 cups flour (I have been using Italian Tipo 00 pizza flour for the past few years, but King Arthur All Purpose also works very well….no need for bread flour)
1 T coarse sea salt
Un-chlorinated Water
1. Add the cup of active sourdough starter to mixer bowl. Add 1-1/2 cups flour to bowl. Gradually mix in water with spoon to get it to a somewhat thick pancake batter consistency. Whip a lot of air into it. Yeast needs air to get it going. Cover bowl with plastic wrap and let rest at room temperature. It does not need to be warm; in fact, a cooler room will give better flavor. After 8 hours, the mixture should be foamy on top (if not, the starter is not active enough – may need more time or the starter may need a boost – another feeding cycle).
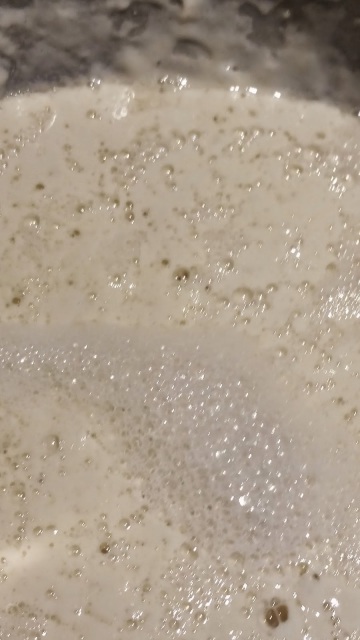 |
| Mixer bowl after overnight rest |
2. To the foamy mixture in the bowl, add the Tablespoon of sea salt and 2-1/2 to 3 cups of flour. Place dough hook on mixer and knead on speed 2. The trick is to get the dough to a point where it is just beyond sticking to the bottom of the bowl while the mixer is running. Add small amounts of additional flour with the mixer running to get to this point. Run the mixer until the gluten develops. A good indicator is when the surface of the dough is smooth. If you go too long, the dough will get gummy-looking; stop kneading immediately if this happens.
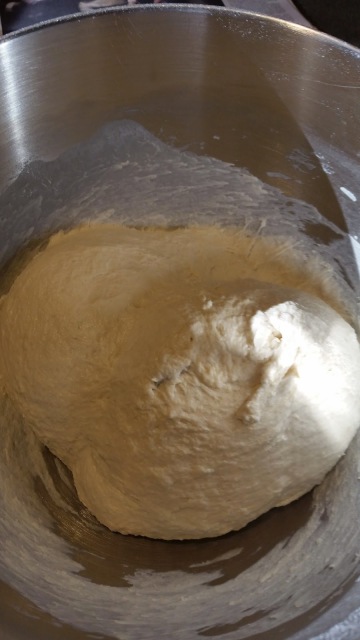 |
| Dough after kneading |
3. Shape the dough in a ball and re-cover the bowl with plastic wrap. Let rise until the dough is about to touch the plastic wrap. At this point, use a rubber spatula to turn the dough out of the bowl onto a floured surface. Use a knife to cut the dough into two equal pieces. Handle the dough minimally to shape into loaves. Place each loaf on a piece of parchment or in a baguette pan. Cover with a damp cloth towel. Let rise at room temperature for 2-4 hours.
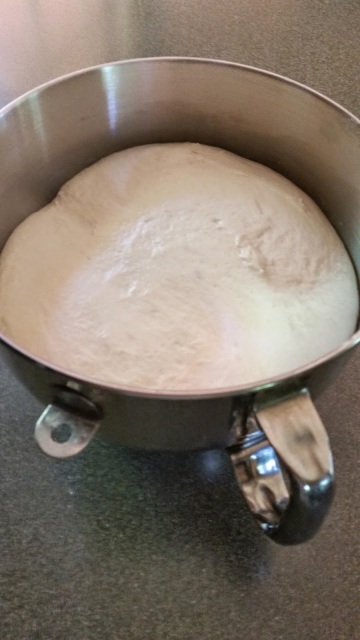 |
| Risen dough |
4. Preheat convection oven to 400-450F. Place pizza stone on middle rack. Place a small pan of water on a lower rack. Slash loaves with a very sharp knife. Use a pizza peel to place the loaves with parchment on the pizza stone. Bake until loaves are golden brown and sound hollow when tapped. Remove from oven and cool on a metal rack.
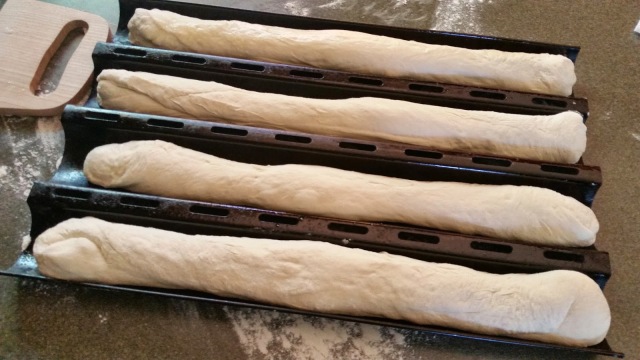 |
| Loaves formed |
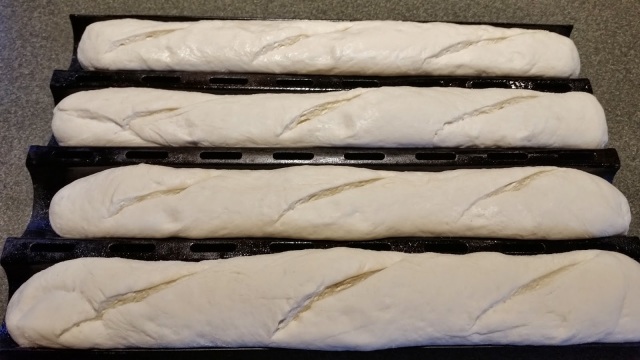 |
| Risen and slashed |
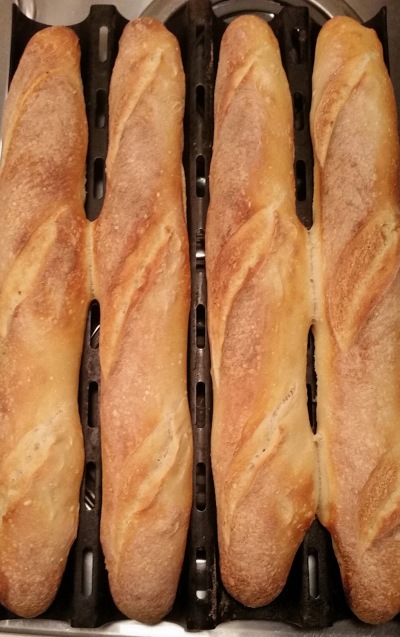 |
| Finished Loaves |
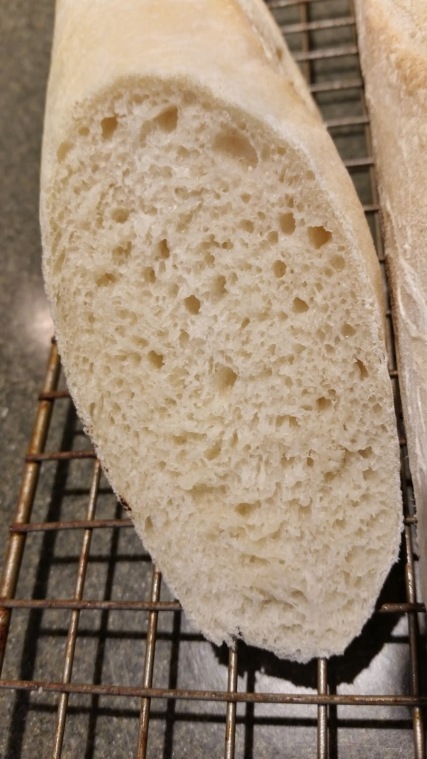
4 thoughts